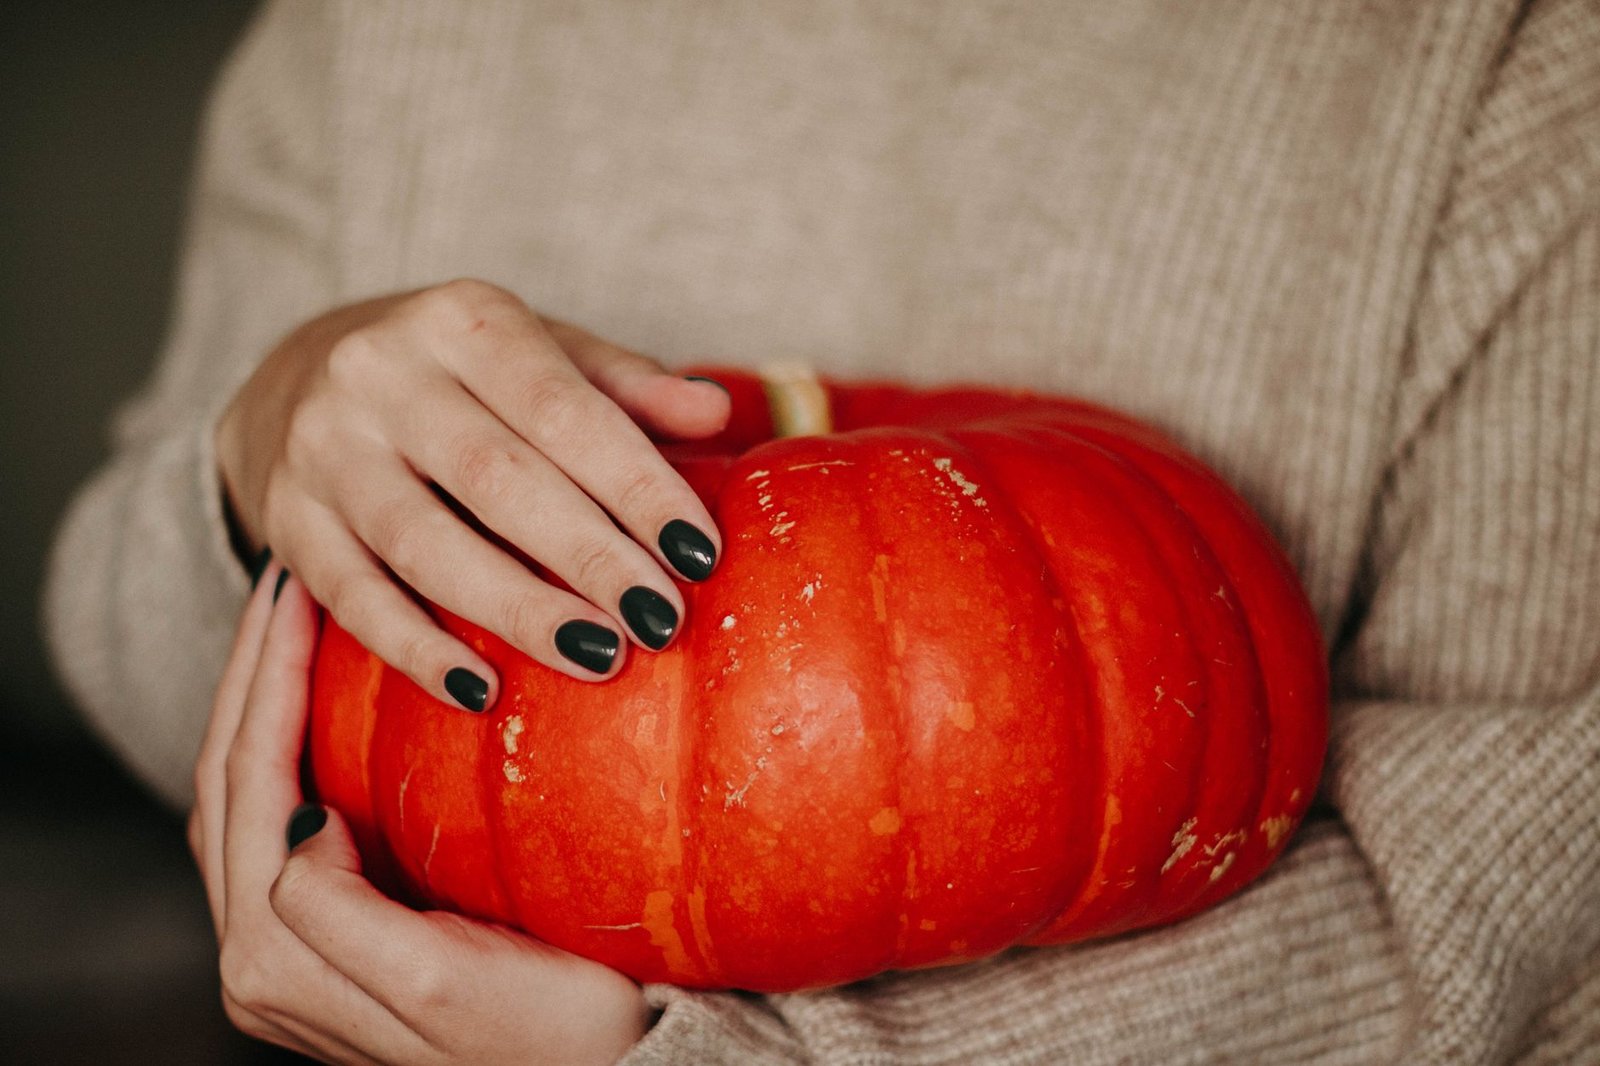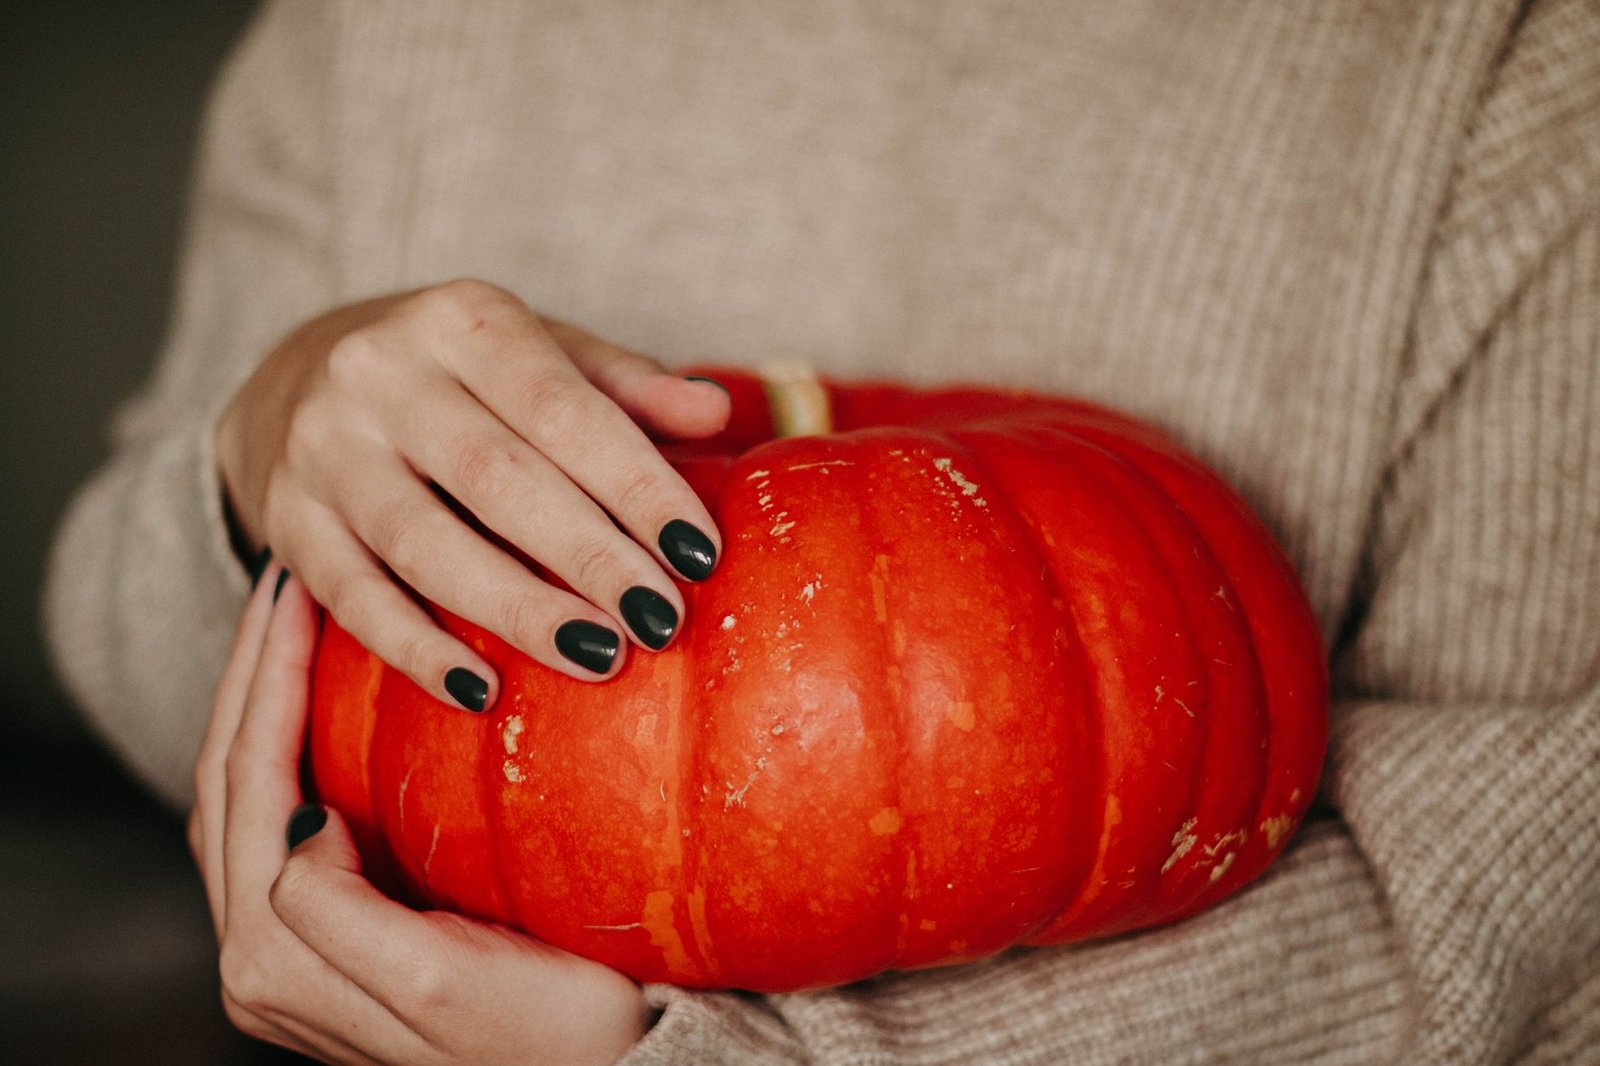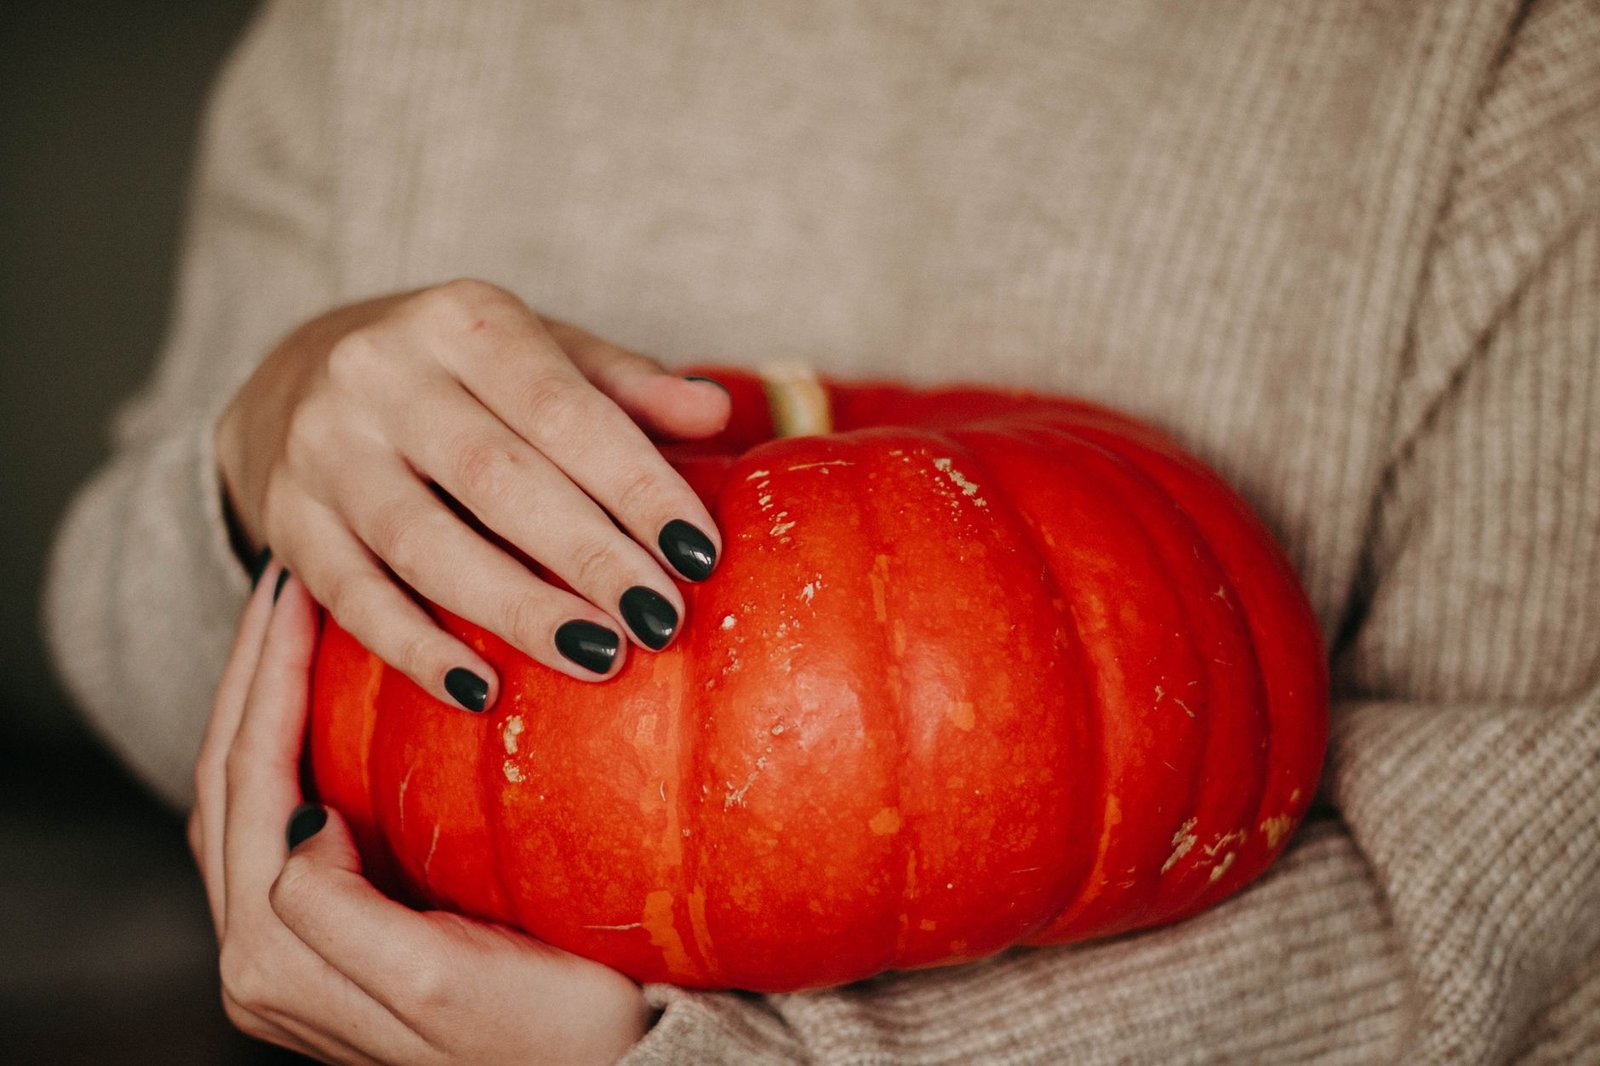
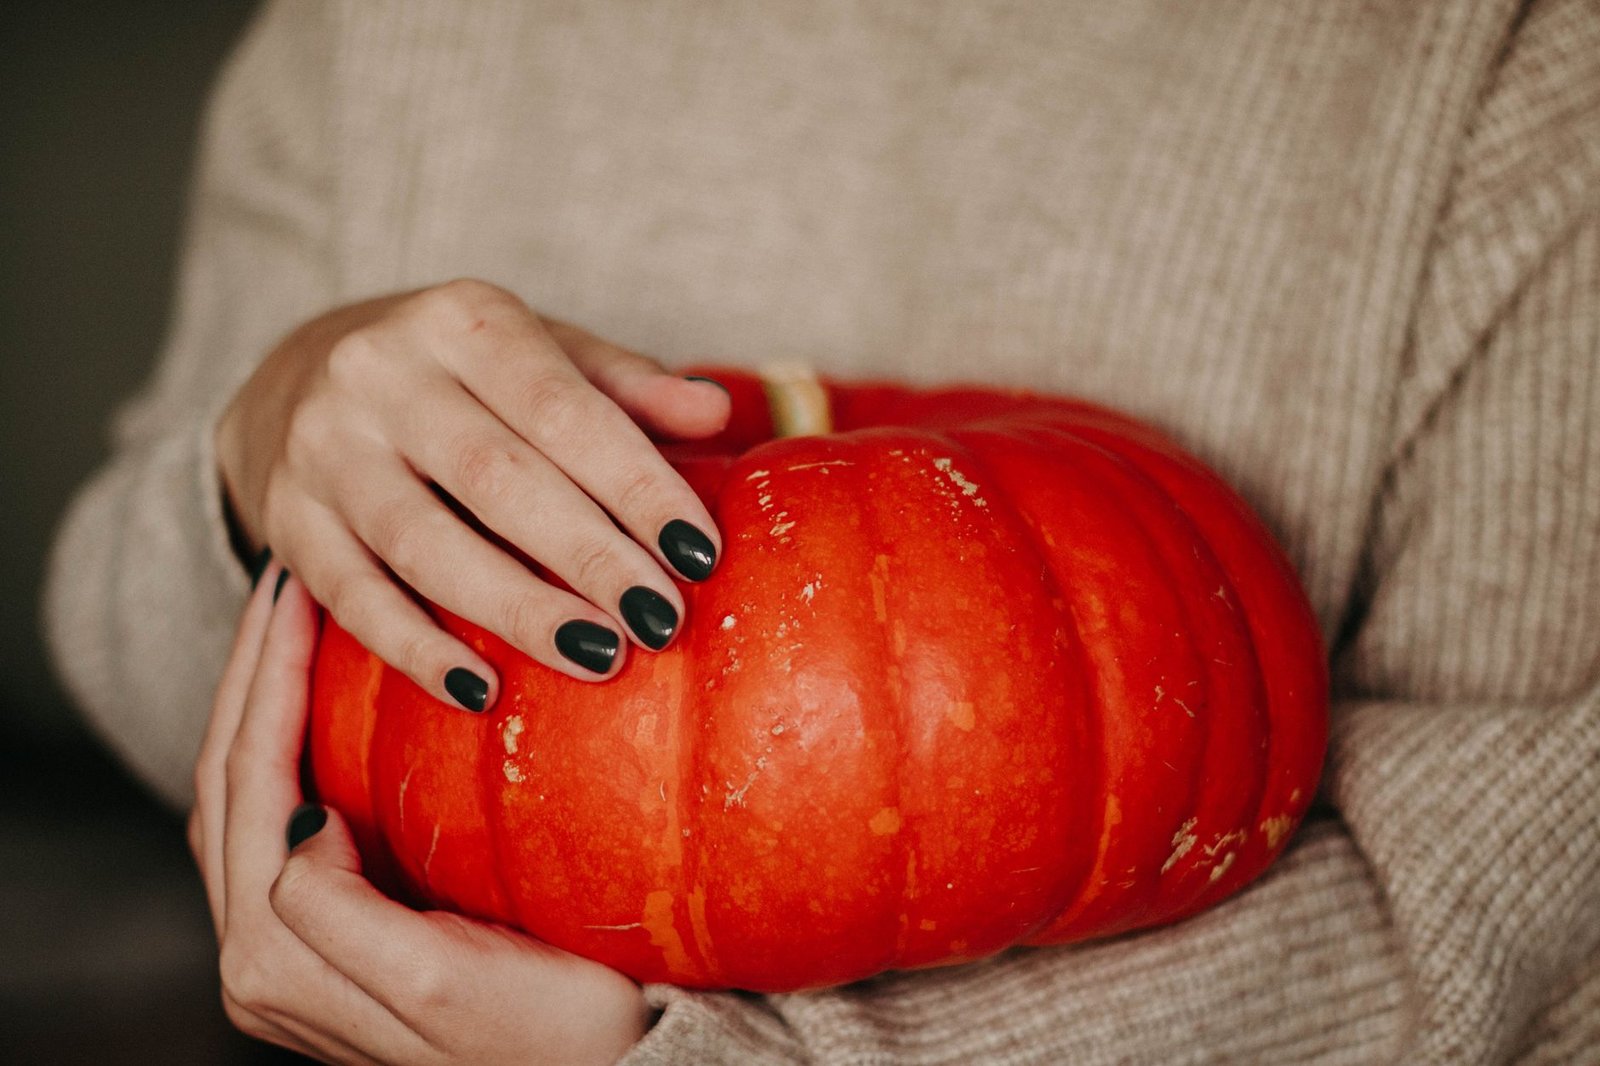
Quick Halloween nail designs are the perfect solution for anyone looking to add a festive touch to their look without spending hours at the salon. With Halloween just around the corner, many of us find ourselves scrambling for ideas that are both easy and stylish. Whether you’re heading to a costume party, trick-or-treating, or just want to show off your spooky spirit, these fast and easy nail designs will have you ready in no time.
Simple Techniques for Quick Halloween Nail Designs
Creating quick Halloween nail designs doesn’t require advanced skills or an extensive nail art kit. Here are some simple techniques you can use to achieve stunning results:
- Color Blocking: Use nail tape to create sharp lines and blocks of color. Choose classic Halloween colors like orange, black, and purple for an instant seasonal vibe.
- Spooky Dot Art: A dotting tool can help you create ghosts, pumpkins, or spider webs in just a few minutes. This technique is fun and versatile!
- Stickers and Decals: Nail art stickers are a game changer. Apply them to a base color for a quick and professional-looking design.
- French Tips with a Twist: Upgrade the classic French manicure by using orange or black tips instead of the traditional white. Add some glitter for extra flair!
Top Quick Halloween Nail Design Ideas
Now that you know some techniques, let’s explore some specific quick Halloween nail designs you can try at home:
1. Ghostly White Nails
Start with a coat of white polish. Once dry, use a dotting tool or a small brush to create ghost shapes with black polish. Finish with a top coat to seal your spooky creation!
2. Pumpkin Spice Nails
Paint your nails with a bright orange base. Once dry, use a thin brush to create green vines and small pumpkin designs. This design is perfect for the harvest season!
3. Spider Webs
Choose a black base color for your nails. After it dries, use a white or silver polish to draw spider webs on the tips of your nails, adding tiny spiders for extra detail.
4. Bloody Nails
For a more dramatic look, use a deep red polish and create ‘bloody’ drips from the tips of your nails. This design is sure to turn heads!
Tools You’ll Need for Your Quick Halloween Nail Designs
Having the right tools makes all the difference when creating quick Halloween nail designs. Here’s a basic list to get you started:
- Nail polish in various Halloween colors (orange, black, purple, white, red)
- Nail tape for clean lines
- A dotting tool for easy designs
- Nail art brushes for intricate details
- Top coat for a glossy finish
Quick Tips for Nail Art Success
To ensure your quick Halloween nail designs look great and last longer, follow these tips:
- Prep Your Nails: Always start with clean, dry nails. Remove any old polish and push back your cuticles.
- Use a Base Coat: A base coat protects your nails and helps your polish adhere better.
- Be Creative: Don’t be afraid to mix and match designs. You can create a Halloween-themed nail for each finger!
- Practice Patience: Allow each layer to dry completely before applying the next to avoid smudges.
Conclusion
Quick Halloween nail designs are an easy way to embrace the spirit of the season without a significant time commitment. With a few basic tools and some creativity, you can sport festive nails that are sure to impress. Whether you choose to keep it simple with color blocking or opt for more intricate designs like spider webs, the key is to have fun and express your personality. For more inspiration, check out DIY Halloween Nails: Step-by-Step Guide or explore the latest trends with Halloween Nails: Top Trends for 2023. And if you’re looking for designs suitable for the little ones, don’t miss out on Halloween Nail Ideas for Kids. Happy Halloween!
“`