
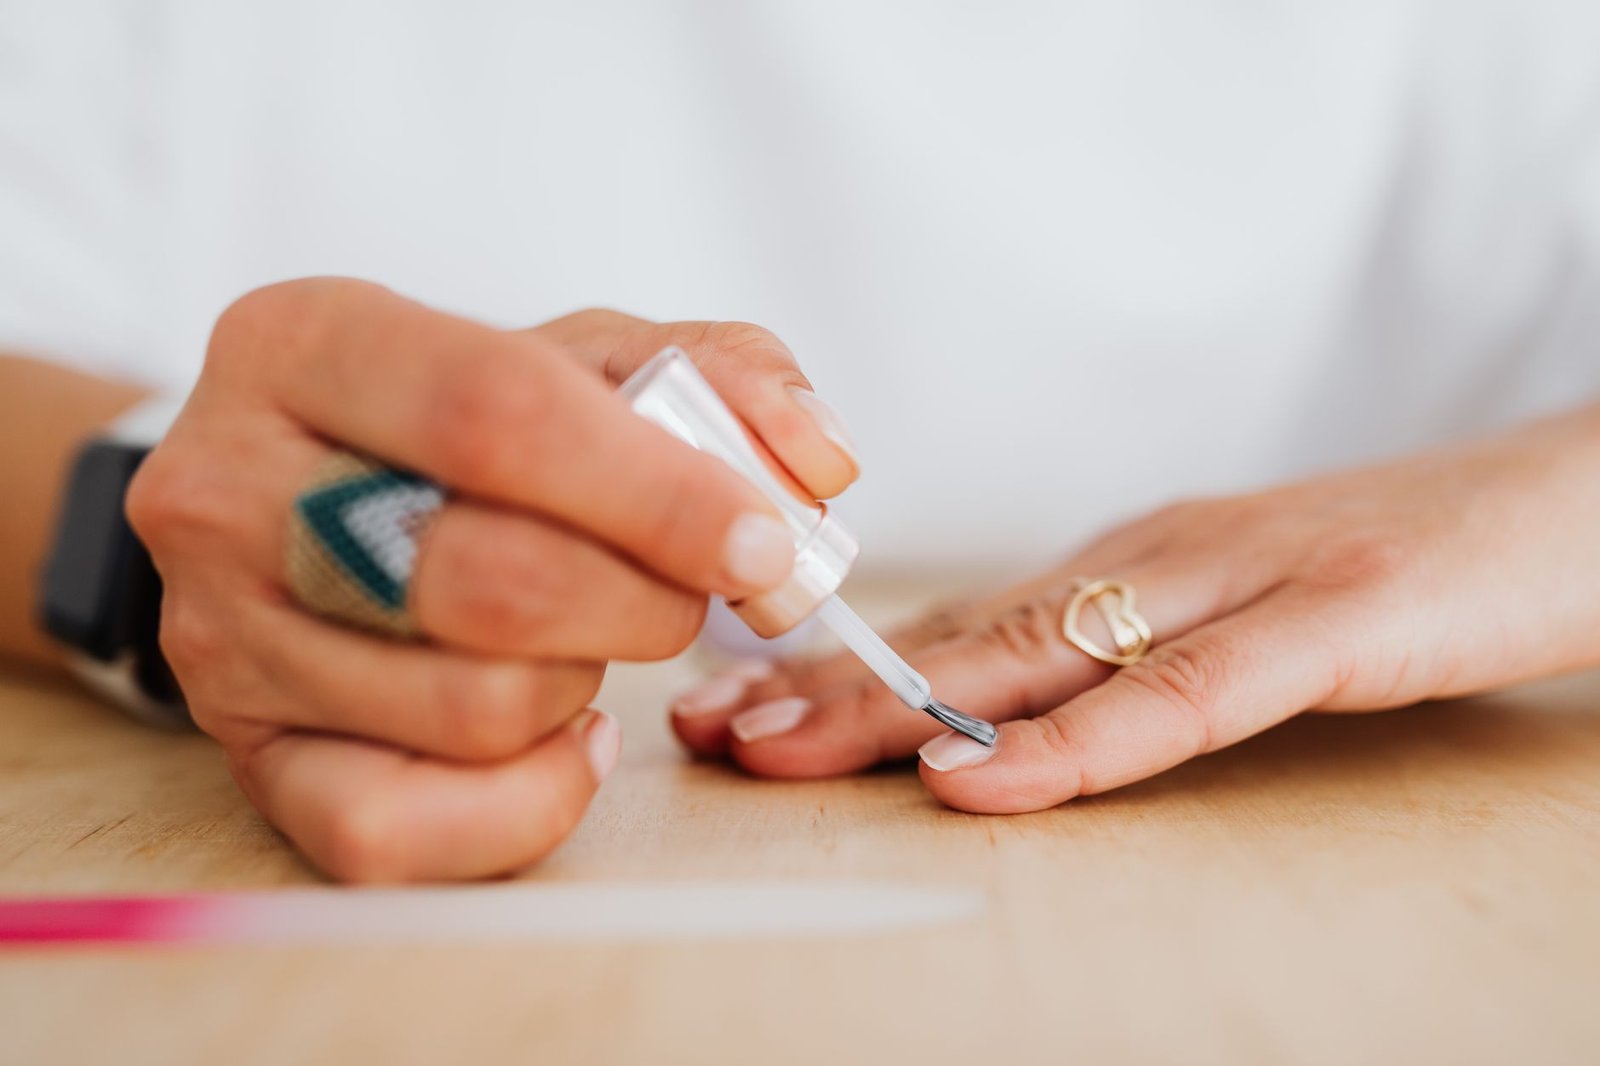
Creating your own diy halloween nails is a fun and creative way to celebrate the spooky season. Whether you’re planning to attend a Halloween party, trick-or-treating, or simply want to showcase your festive spirit, custom nail designs can add the perfect finishing touch to your Halloween look. In this guide, we’ll walk you through the process of designing your own Halloween nails step-by-ste
Essential Supplies for DIY Halloween Nails
Before diving into the designs, gather all the necessary materials. Here’s a list of essentials you’ll need:
- Nail polish in various colors (black, orange, purple, green, and white)
- Nail art brushes or dotting tools
- Nail stickers or stencils (optional)
- Top coat for shine and durability
- Base coat for protection
- Cotton balls and nail polish remover
- Small dishes for mixing colors
Steps to Create Your DIY Halloween Nails
Now that you have your supplies ready, let’s get started with the step-by-step guide to creating stunning diy halloween nails.
Step 1: Prepare Your Nails
Begin by cleaning your nails thoroughly. Remove any previous nail polish and push back your cuticles. Apply a base coat to protect your nails from staining and to create a smooth surface for the polish.
Step 2: Choose Your Design
Decide on the design you want for your nails. Popular themes include:
- Classic Halloween icons (pumpkins, ghosts, witches)
- Spooky patterns (cobwebs, bats, skulls)
- Abstract designs using Halloween colors
For inspiration, check out our article on Halloween Nails: Top Trends for 2023.
Step 3: Apply Base Colors
Once you’ve chosen your design, start by applying the base colors. For example, you might use orange for a pumpkin theme, black for a spooky look, or purple for a witchy vibe. Let each coat dry completely before moving on to the next step.
Step 4: Add Details
Using a thin nail art brush or dotting tool, add the details of your design. If you’re going for ghostly figures, create small white dots for eyes on a black background. For pumpkins, use green for vines and orange for the body. Don’t be afraid to mix colors and get creative!
Step 5: Final Touches
Once your designs are complete, let them dry thoroughly. Apply a top coat to seal in your artwork and add shine. This step is crucial for ensuring your diy halloween nails last through all the festivities.
Ideas for DIY Halloween Nails
If you’re looking for specific ideas, consider these fun designs:
- Spider Webs: Use a thin brush to create web patterns on a black base.
- Frankenstein: Paint your nails green and add Frankenstein features using black and white polish.
- Bloody Nails: Create a creepy effect with red polish dripped at the tips.
For more creative ideas, especially for younger artists, check out our post on Halloween Nail Ideas for Kids.
Tips for Perfecting Your DIY Halloween Nails
Here are some tips to ensure your diy halloween nails turn out great:
- Practice your designs on paper before applying them to your nails.
- Use a steady hand and take your time with intricate designs.
- Consider using nail stencils for more complex shapes.
- If you make a mistake, don’t worry! You can always fix it with a bit of nail polish remover.
Conclusion
Creating diy halloween nails is not only a fun activity but also a fantastic way to express your creativity during the Halloween season. With the right supplies and a bit of practice, you can design your own unique looks that will impress everyone. Whether you go for spooky, cute, or elegant, your nails will surely enhance your Halloween experience. So gather your supplies, unleash your artistic side, and enjoy the process!
For adults seeking inspiration, don’t forget to check out Halloween Nail Designs for Adults to find styles that suit your personality and taste.
“`